Hi everyone! It’s time to share a new card with you 🙂 This time I made a card with a bookmarker in it.
For this card I was inspired by Ashley Tucker. She made a video of how she made such a card. Because I have quite some booklovers among my friends and family, I decided to make a card like that.
It was a fun card to make and not hard at all.
I can’t wait to send the card and make someone happy with it!
Hi everyone! Last Thursday it was Valentinesday and today I want to share the card that I made for my husband for this occasion.
At first I wanted to make a totally different card. Some time ago I bought an embossingfolder at Action (a Belgian store) with a big heart on it that looked a bit like origami style. But unfortunately the embossingfolder doesn’t print the heart hard enough in the paper. It was hard to see it and I decided to make a different card.
The idea for this card came from the Lawn Fawnatics challenge 45 – Lots of love. I don’t own many Lawn Fawn stampsets (yet) so I had to be creative with what I had in my stash.
This is how I made the card. First I die cut a piece of Neenah 80 lbs white cardstock with the Lawn Fawn stitched rectangles. I prepared the cardstock for heat embossing with some kitchen flour and a brush. Then I took the little hearts stamp from the You are sublime stampset and stamped them all over the cardstock with Versamark ink. I sprinkled KnorrPrandell metallic red embossingpowder over the ink and heat embossed it.
I took an already stamped and cut out mug out of my stach and colored it with copic markers. I stamped the coffee in the mug with Colorbox chesnut pigment ink.
After that I took a piece of red cardstock and die cut a stiched circle out of it. For the sentiment I took a scrap piece of vellum that I cut in the right size. I prepared it for heatembossing with kitchen flour and a brush and stamped the sentiment on it with Versamark ink. I used Wow primary ebony super fine embossingpowder and heat embossed it.
I made a cardbase with Neenah 80 lbs cardstock and cut a piece of red cardstock a little bit smaller and adhered it on the cardbase. Then I adhered the panel with the embossed hearts on it, as well as the red circle and the coffee mug.
To be able to adhere the vellum strip in a way you can’t see the glue, I used a little paper heart out of my stash. I colored it pink with a flex marker. I put a little dot of glue under the vellum, adhered it to the card and then did the same with the little heart, that now hides the glue under the vellum.
It was a fun card to maken and I’m very happy with how it turned out. I enjoyed it that I don’t have a specific Valentines stampset but still managed to make a lovely card for this occasion with the stamps that I have.
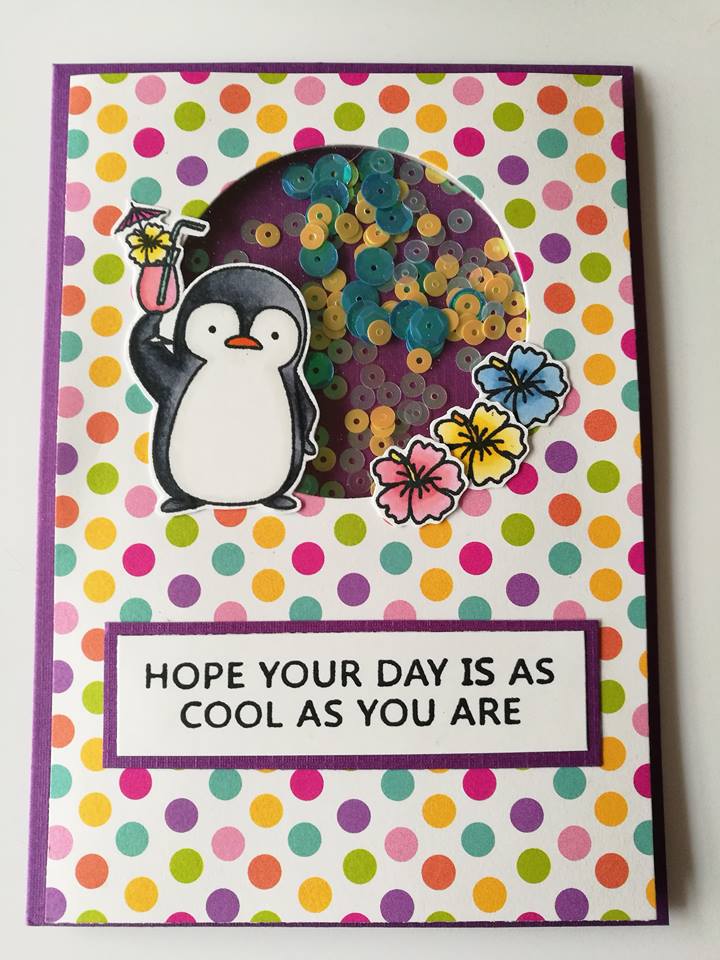
Hi everyone! Today I want to share this festive penguin shaker card.
This week I wanted to make a birthday card but not with snowmen or other winter scenes. I’m longing for spring but it’s too early to start with spring cards isn’t it? So, I made a compromise with myself. I choose the My favorite things ‘Penguins in paradise’ stampset. This is a summer stampset but a penguin with a beverage in his paw, that’s okay for a winter card in my opinion 😉
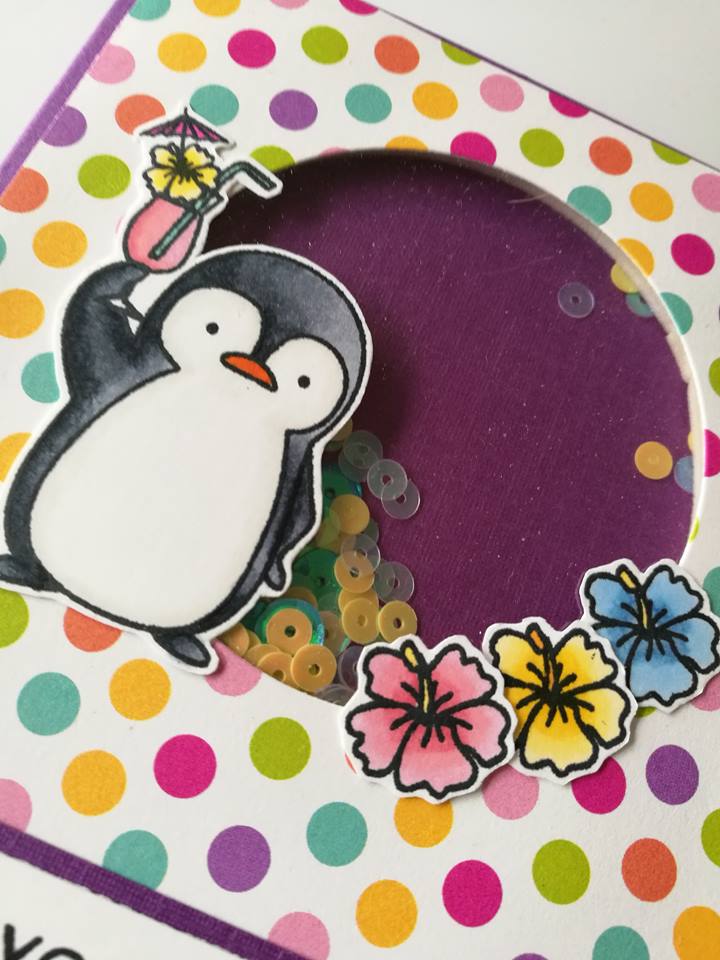
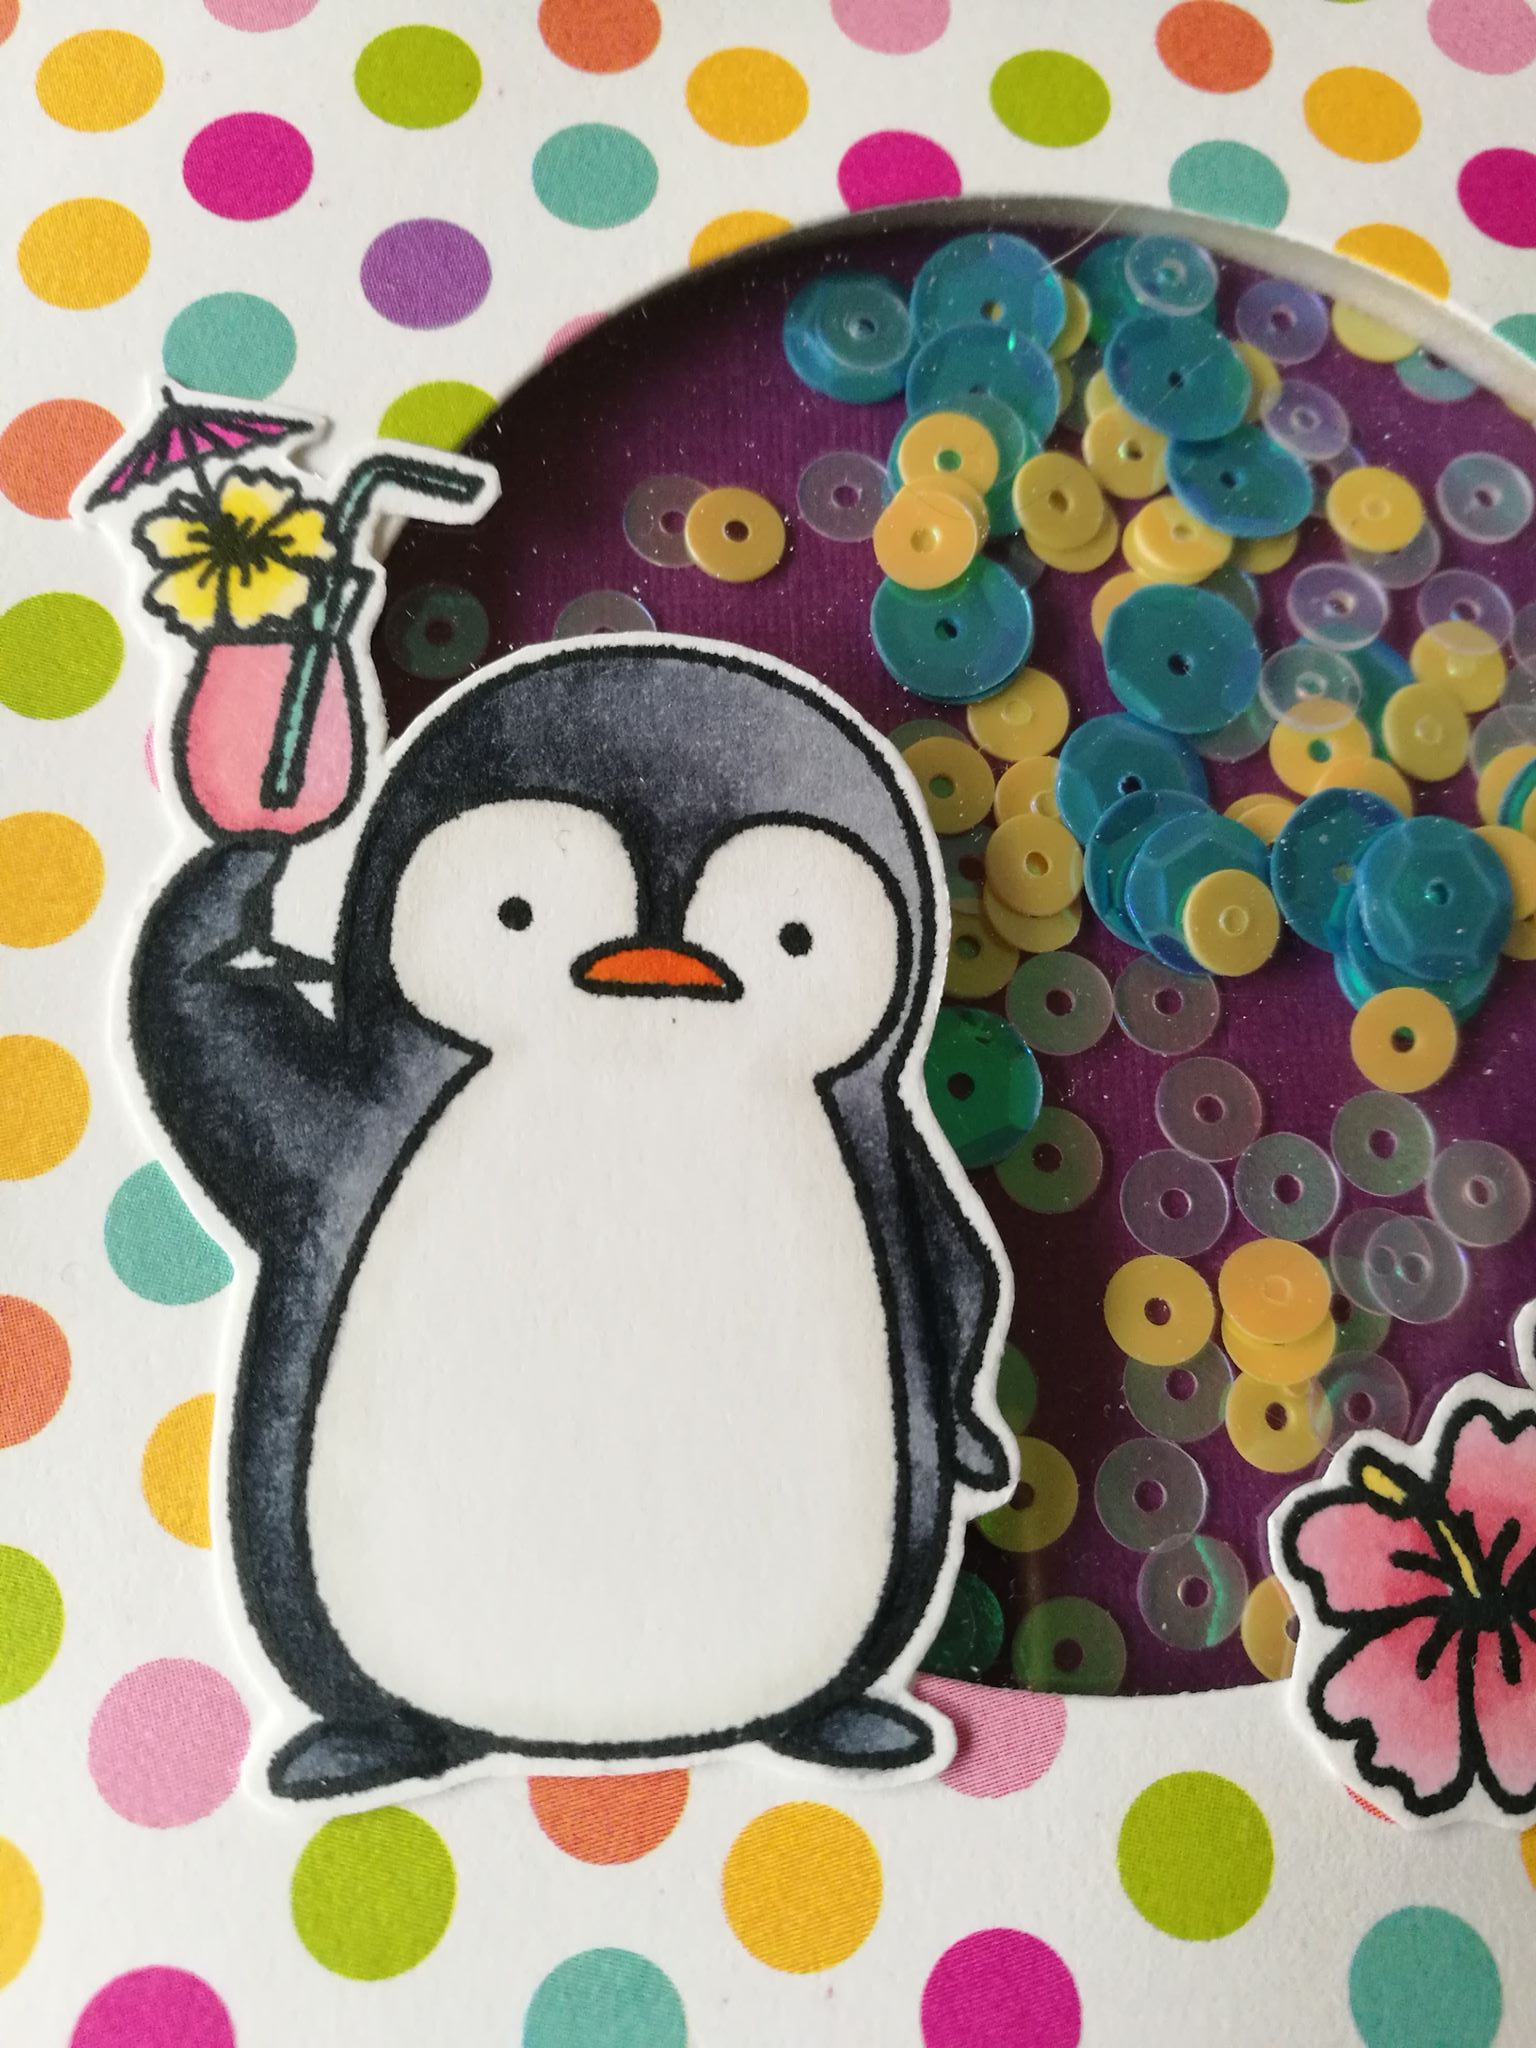
I chose this colorful paper with dots from the Doodle bug design ‘Fairy tales’ paperpack. Then I searched for a cardbase that fit with one of the colors on the patterned paper. Then I die cut a circle out of the patterned paper and adhered a piece of acetate on the back so the circle was covered up. I took a piece of foam tape, fold it double and cut it in 2 in lenght. That way it is very easy to fold the tape around the circle. With a brush and some kitchen flour I made sure that the inside of the foam tape didn’t stick anymore. Then I put foam tape on the rest of the panel so I would have a nice flat surface when it was adhered on the cardbase. Then I stamped the penguin and some flowers, colored them with copic markers and fussycut them out.
I placed a mix of sequins on the card base and then I placed the panel on top of it with the sequins in the cirle. I adhered the penguin and the flowers on the card and then stamped the sentiment on a piece of Neenah 80 lbs paper. Then I matted the sentiment with the same paper as the card base. All that was left to do was adhering the sentiment on the card and done!